 首页
首页 
 0. 概述
0. 概述
Figma的属性设置
 酸梅干超人2024-11-07 发布
 收藏
收藏 在 Figma 中,包含不同的图层、视觉元素,每个元素都会有相应的属性和参数。比如一个矩形,它有长和宽的属性,且长和宽会有具体的参数值。这些属性和参数被统一放置在界面右侧的属性面板中。
因为不同元素包含的属性不同,所以选中不同元素展示的属性面板并不是相同的,会有一定的差异。
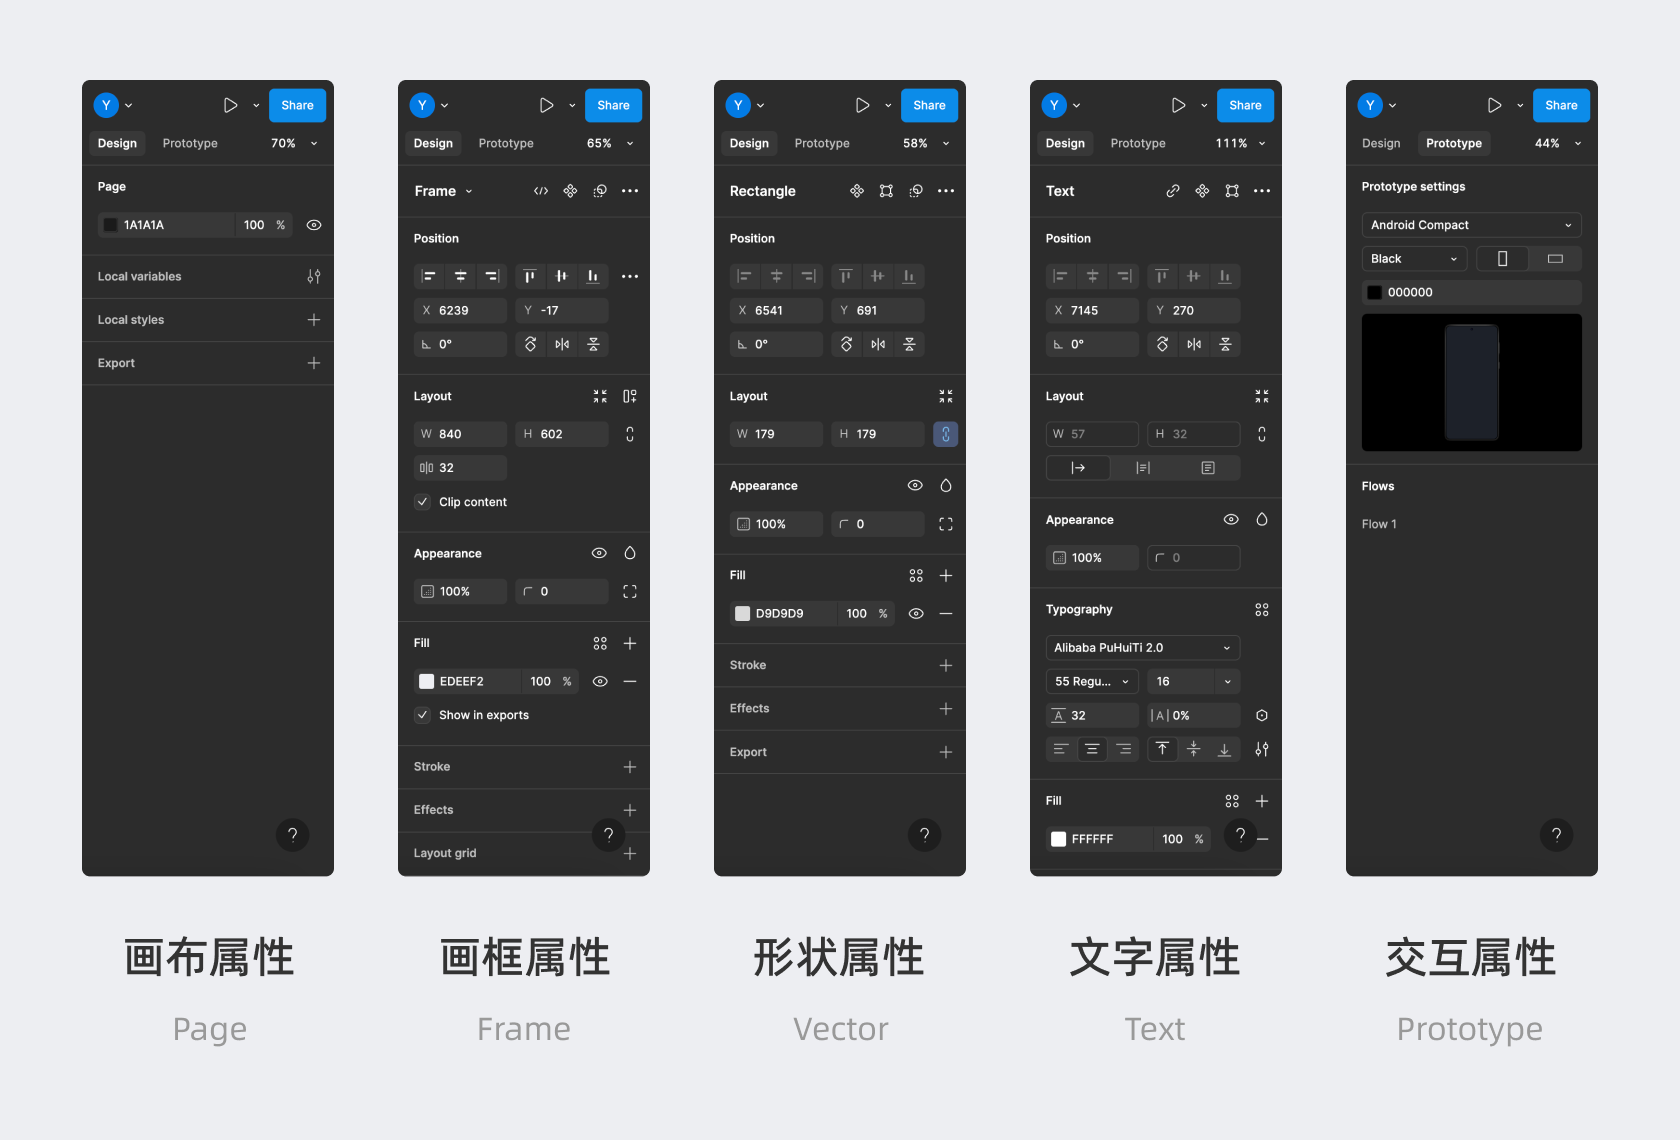
虽然属性面板类型很多,但理解属性设置并不困难,因为属性面板的内容是以模块化的方式组合的,只要理解每个模块和对应的属性是什么,就能无缝完成对所有元素的设置。
下面依次来认识最常用的属性模块:
1.元素操作:
元素操作是属性面板最上方的模块,会显示所选元素的类型名称,如果鼠标什么元素都没选中,那么系统就默认选择整个画布 Page。
元素操作严格来说并不是只是属性设置,而是将所选元素可以进行的一些特殊操作、功能放到这里来,比如将元素创建成组件、应用布尔、编辑路径等等。
在过去版本中,这些功能和选项是展示在顶部工具栏中,UI3后统一修改到属性栏顶部,所以不是很直观。
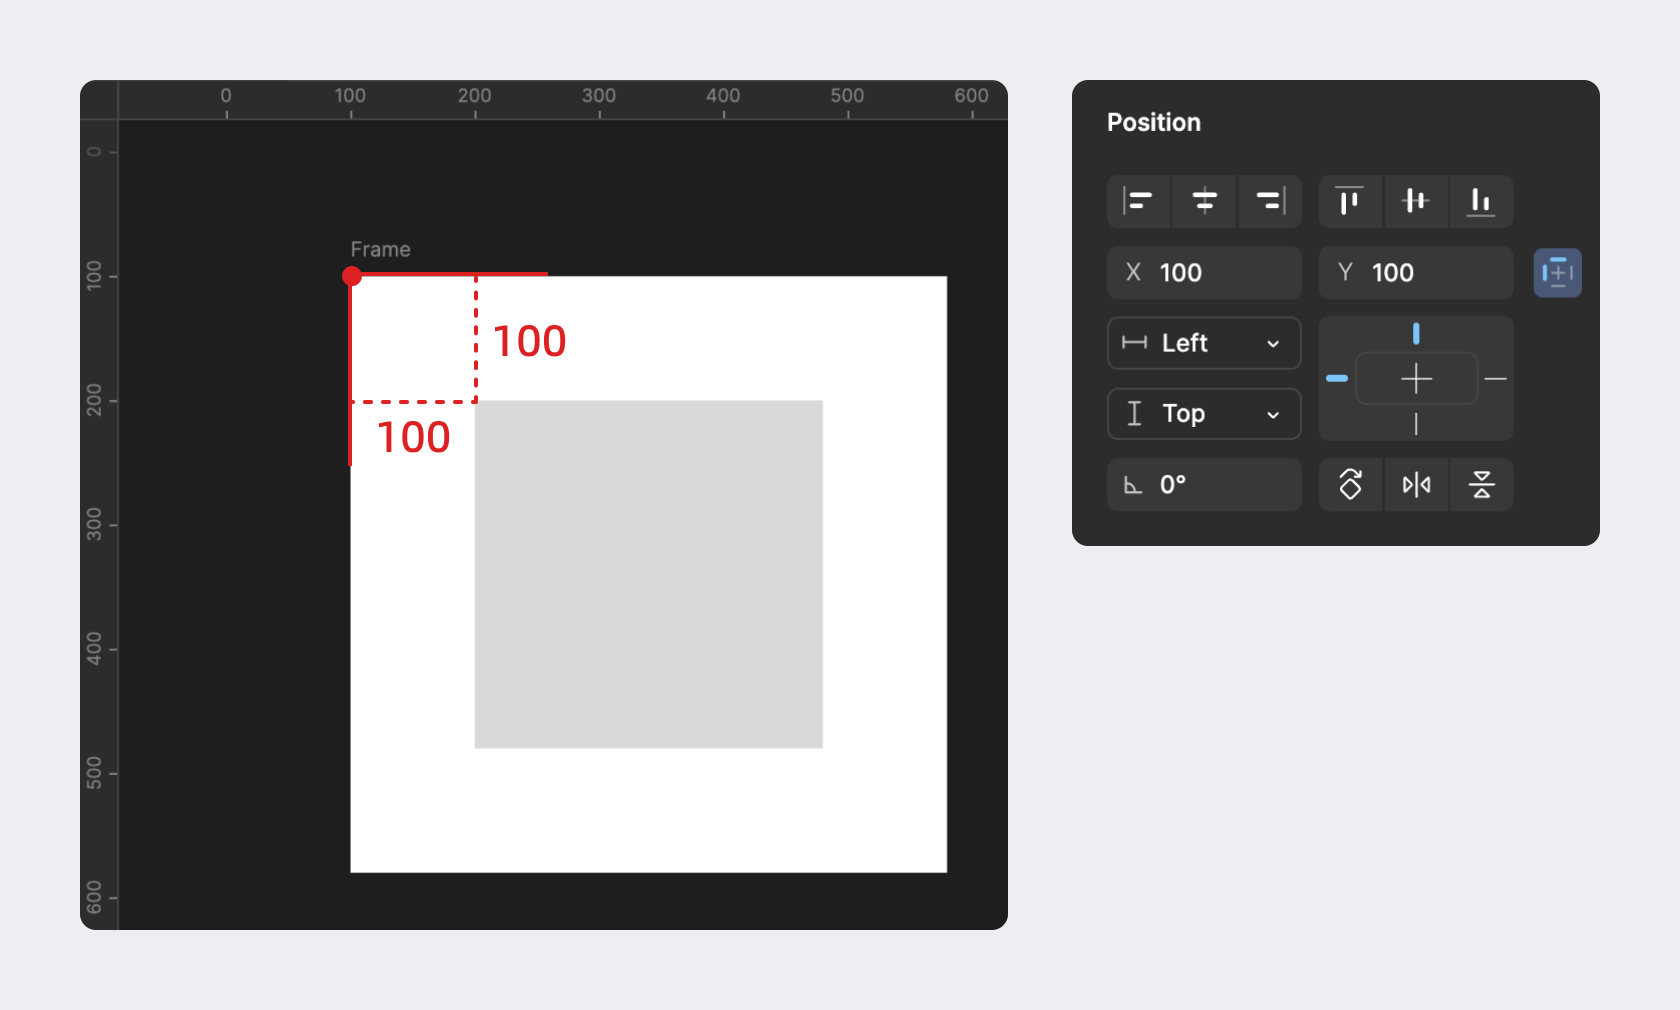
2.位置面板 Position
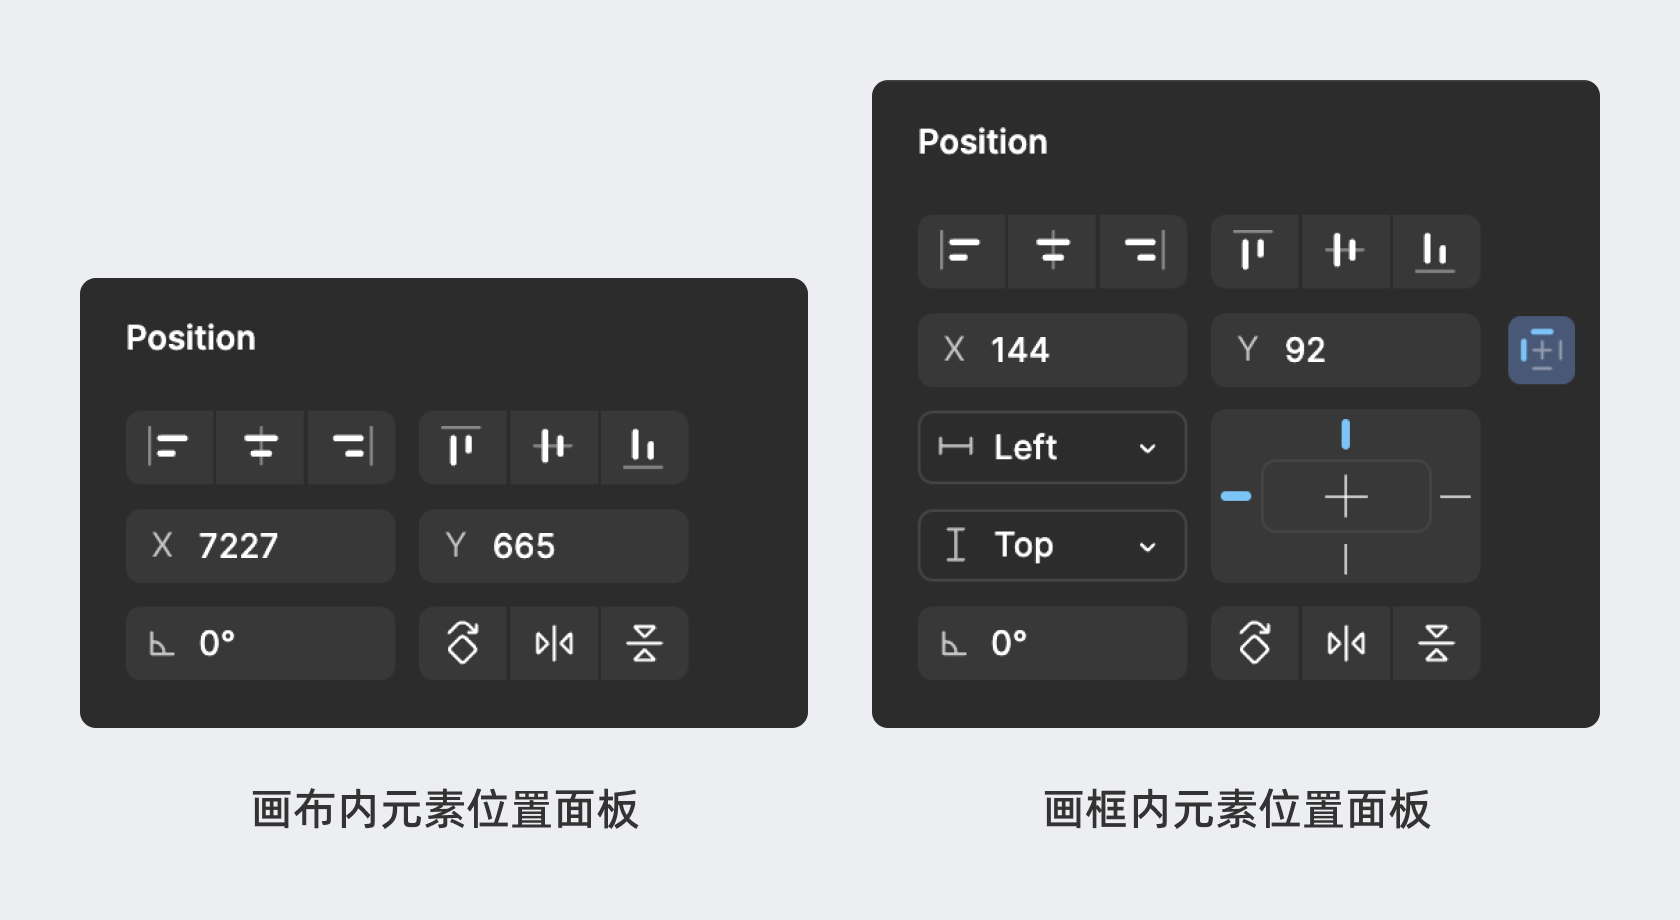
位置面板展示元素所处层级的相对坐标、位置。包括x、y轴的位置,以及旋转的数值。
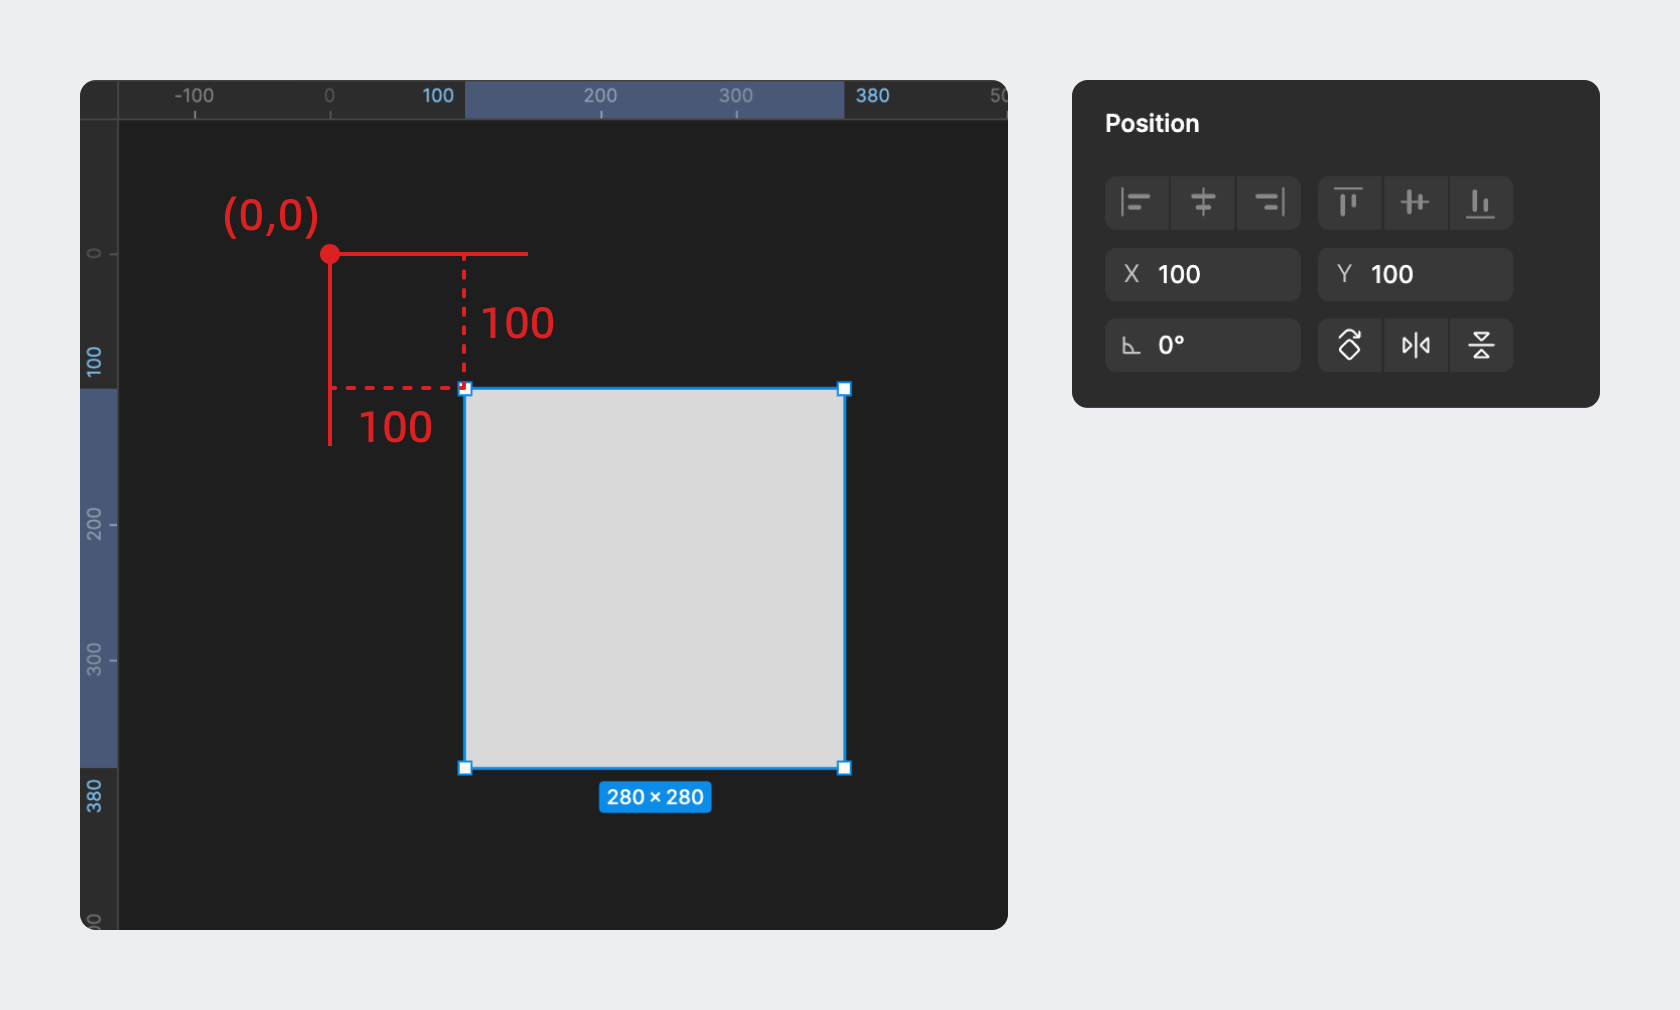
如果元素处于画布Page内,上级没有其它编组,那么元素的位置是元素左上角的顶点相对于整个画布page 的世界原点 (0,0)的X、Y值,且面板设置较为简单。
如果元素处于画框Frame内,那么元素的位置是元素左上角订单相对于上级画框的左上角顶点的 X、Y轴的距离,而不是相对于画布Page的世界坐标,且画板内会有更多关于响应式相关的设置。
3.布局面板 Auto layout
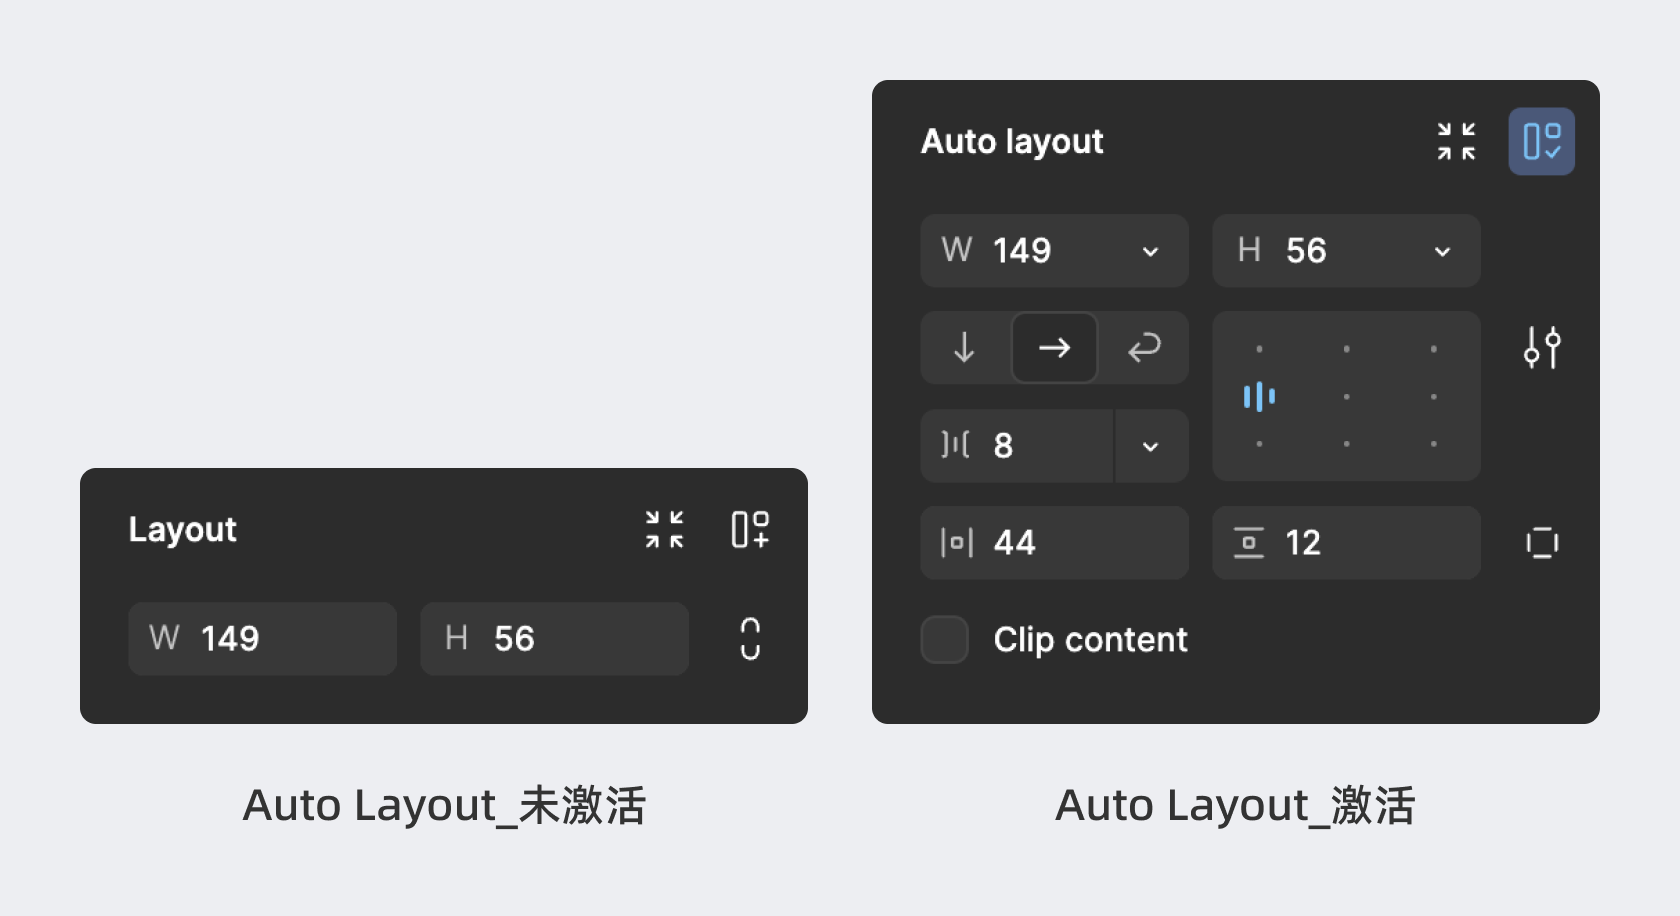
布局面板是用于控制自动布局 Autolayout设置的面板,需要激活后才会显示对应的属性设置。
4.外观面板 Appearance
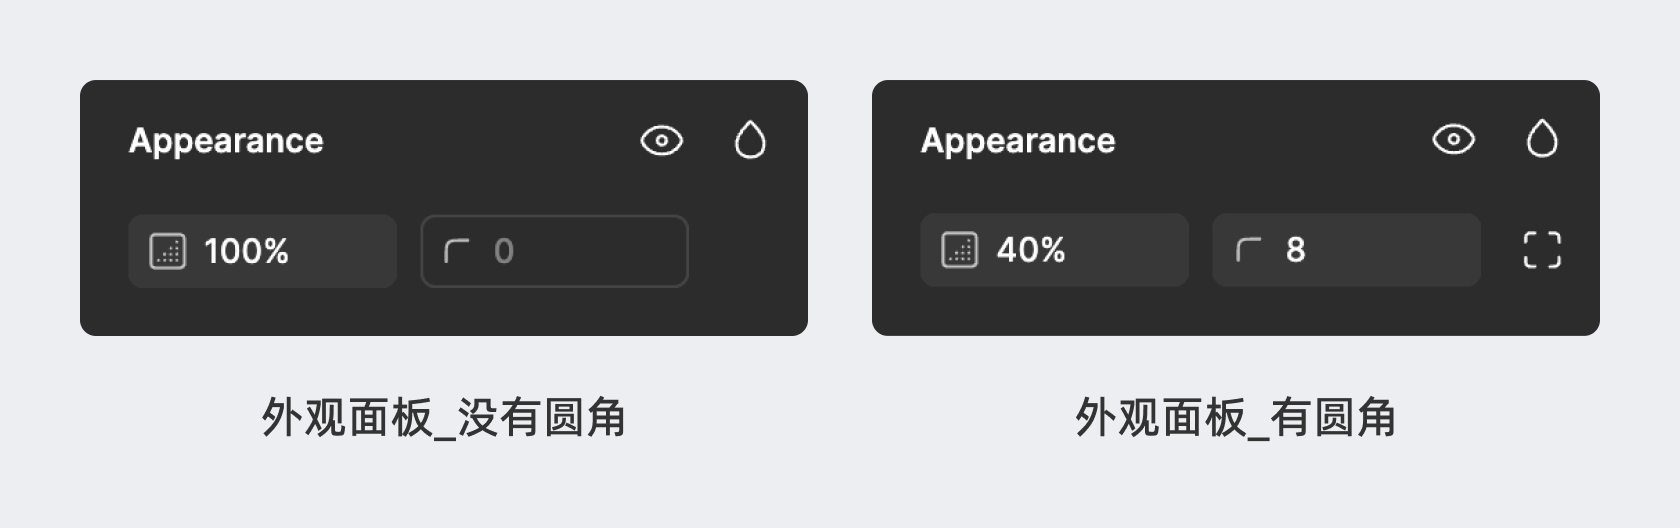
外观面板主要用来设置元素透明度、圆角、叠加模式。具有直角、锐角的图形支持圆角设置,矩形还可以单独设置四边圆角。而圆或不规则圆则不能进行圆角设置。
5.字体面板 Typography
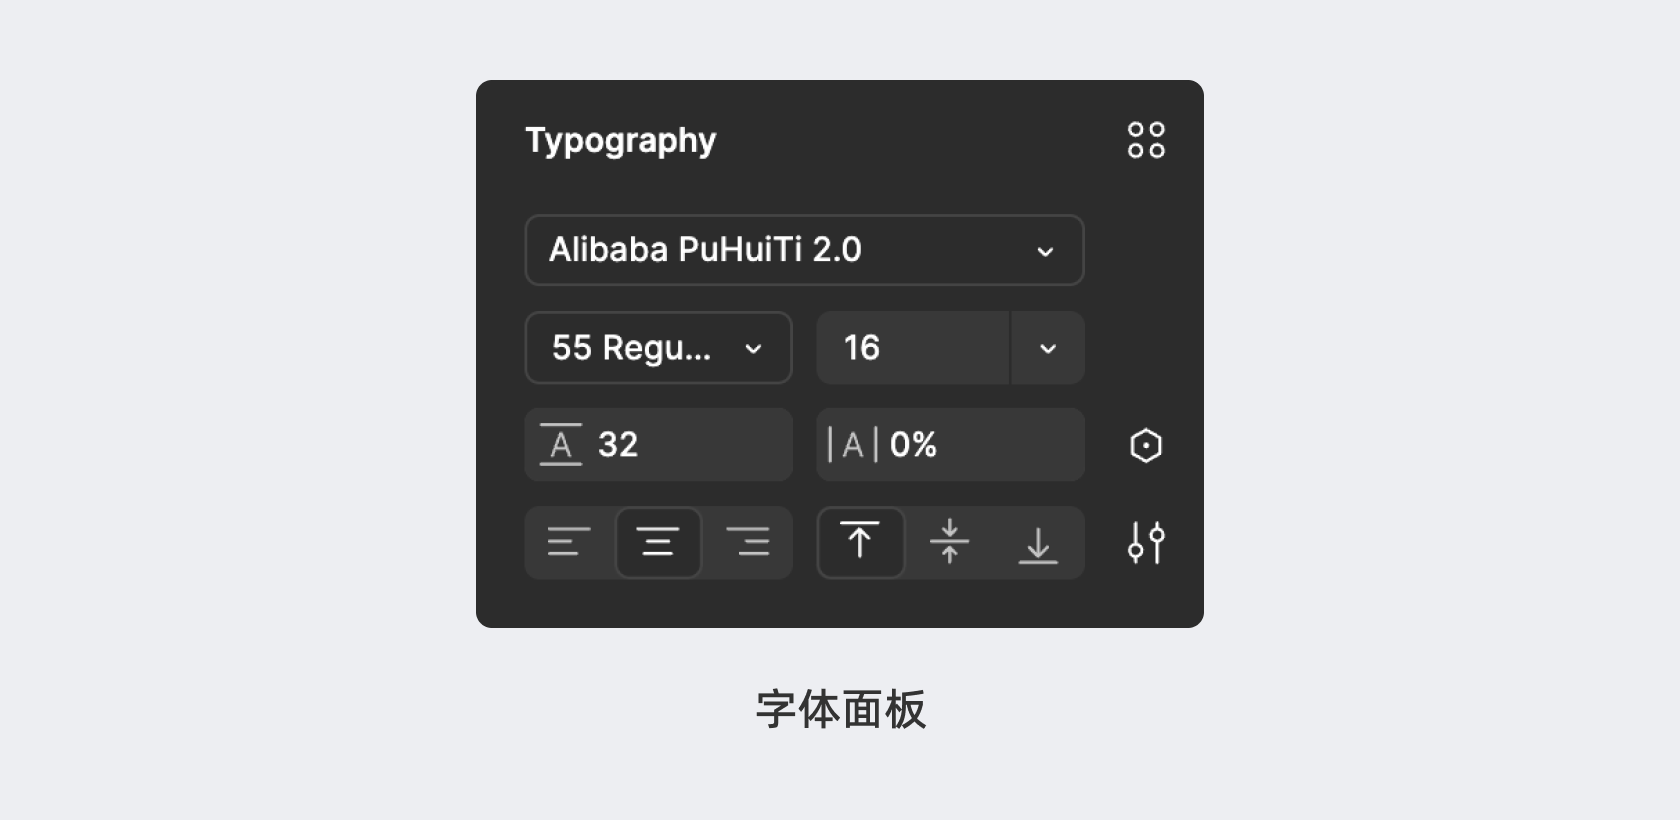
用于进行字体属性设置的面板,只有选中字体元素后才可以设置。因为字体相关设置的知识点较为复杂,我们会在后面对它做详细的解释。
6.填充面板 Fill
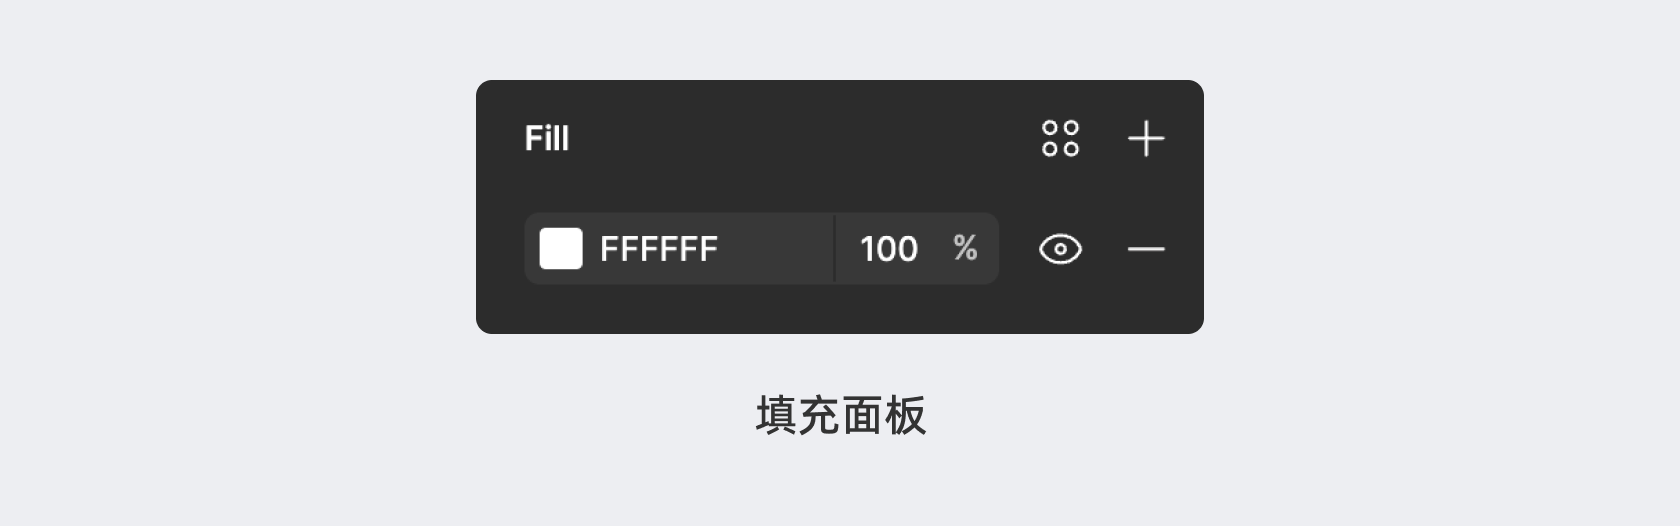
用于对所选元素区域进行填充设置的面板,可以选择填充不同色彩类型或图片。
7.描边面板 Stroke Setting
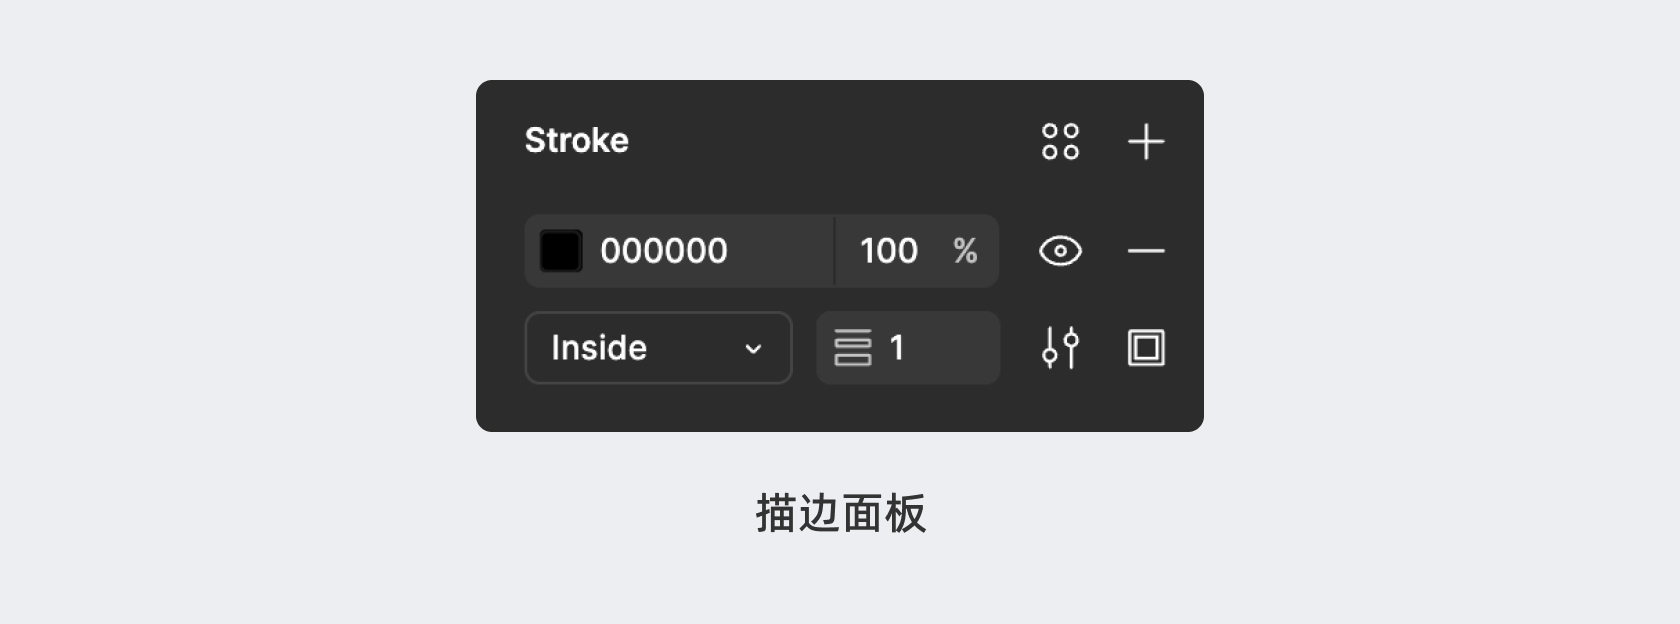
用于控制元素描边设置的面板,包含面板的颜色、位置、大小、样式等。
8.效果面板 Effect
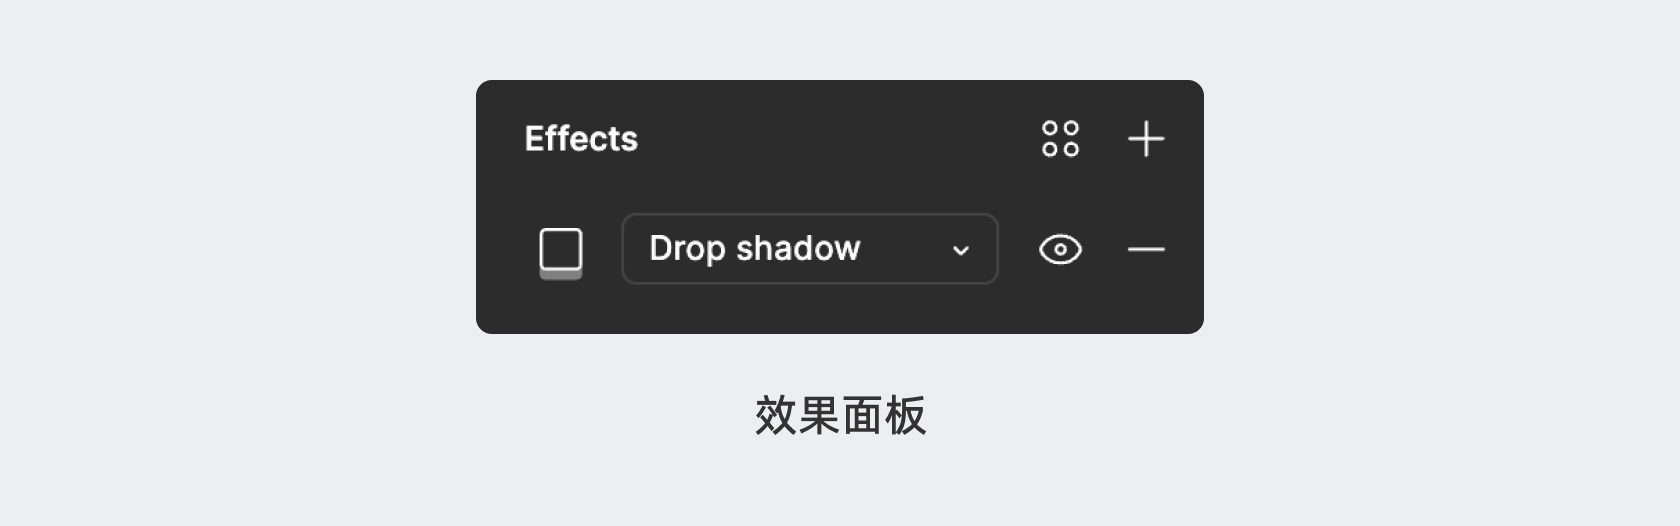
用于对图层创建特殊视觉效果的面板,包括内阴影、外阴影、图层模糊、背景模糊4个效果类型。
9.导出面板 Export
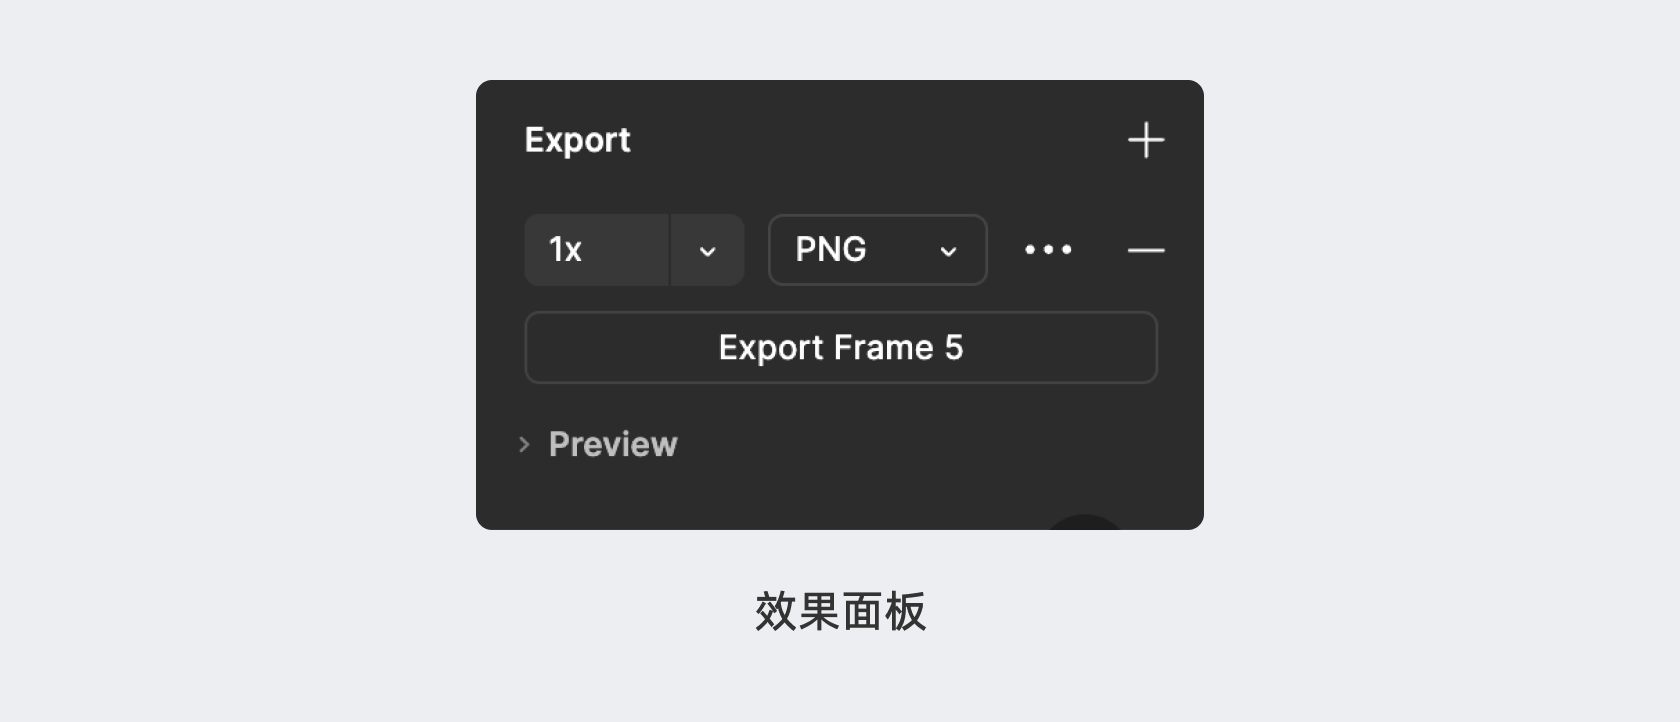
用于导出所选元素到软件外的设置面板,包括选择元素导出倍率、格式、色彩文件、质量等。
10.所选色彩 Selection colors
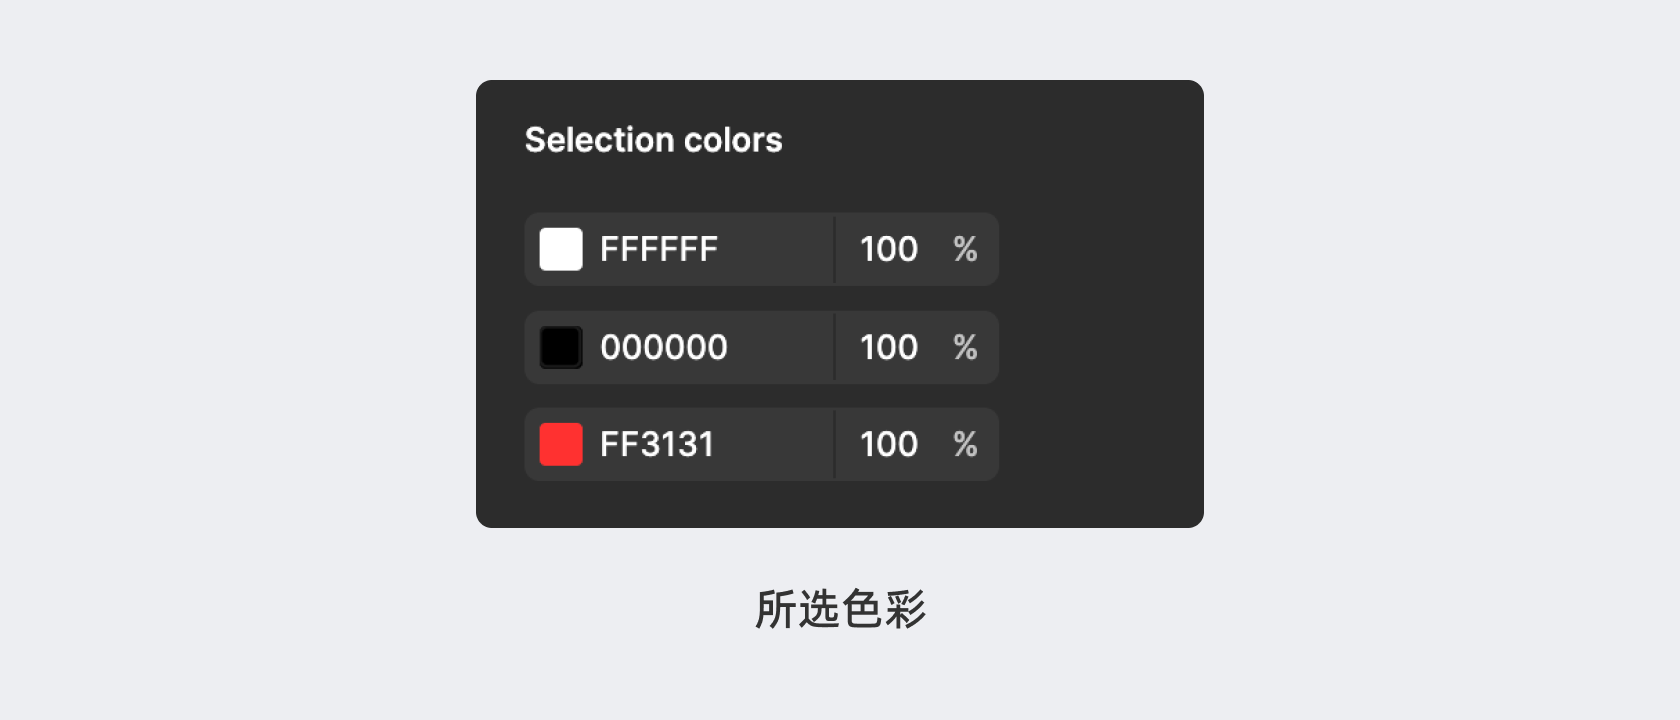
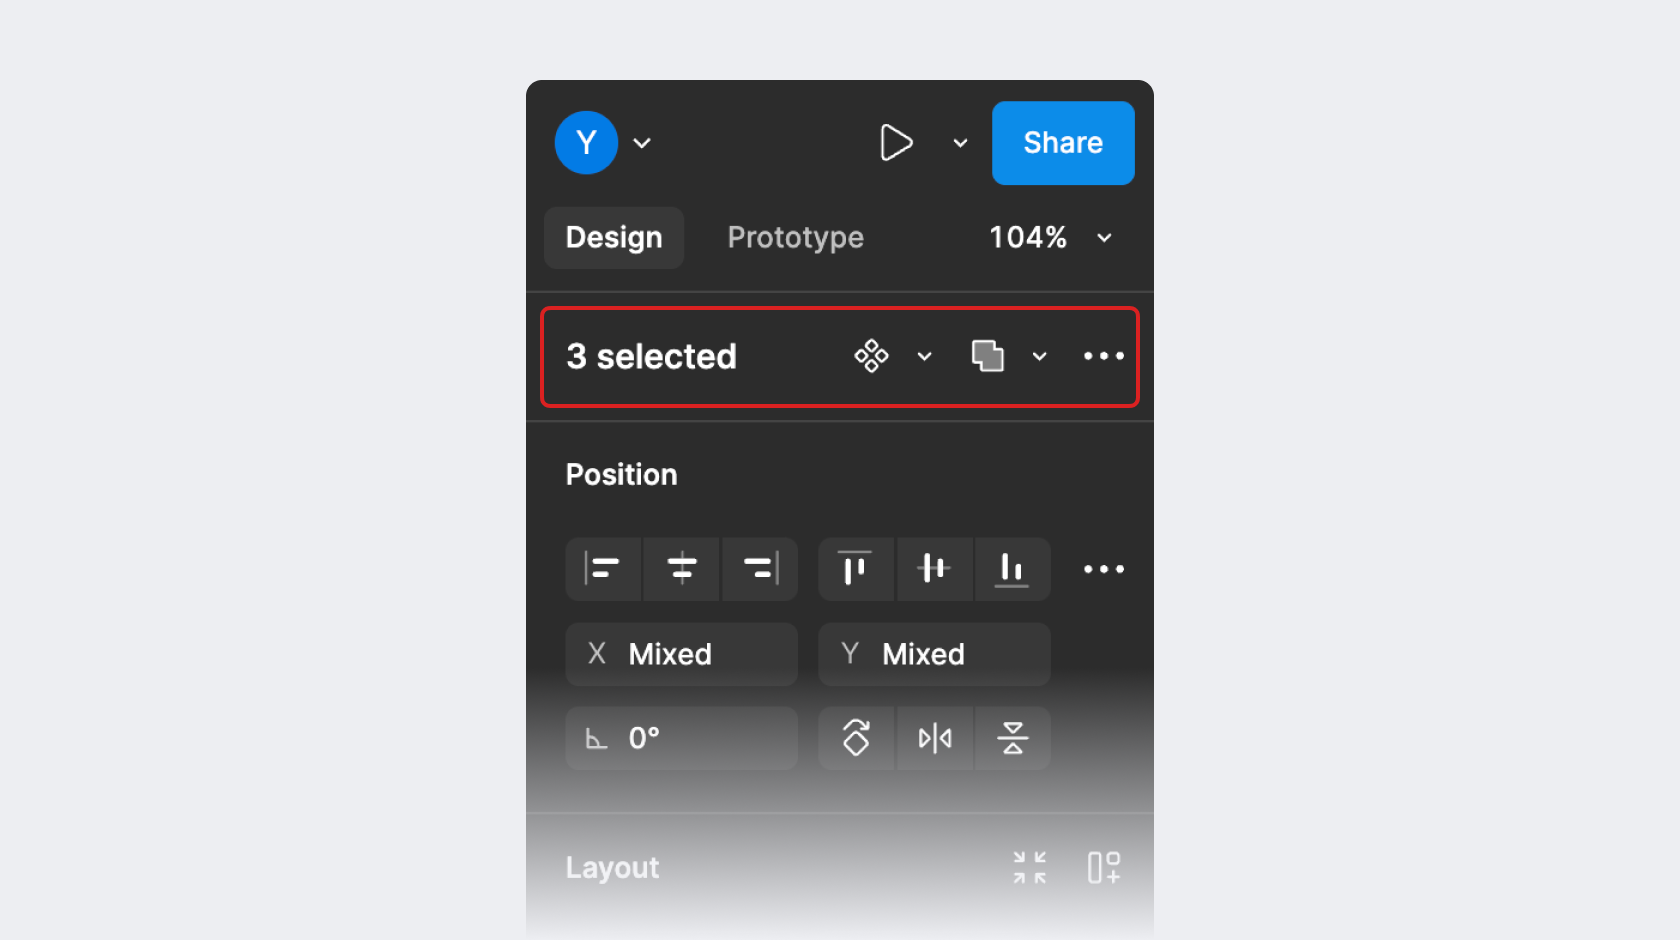
选中多个元素或编组时,如果包含多个填充色,那么就会额外显示一个展示选择包含色彩的面板。除了获知使用的填充色外,还可以在这里快速完成对颜色的调整或替换。
学习属性模块不要通过死记硬背,只要了解对应功能后进行界面设计的实操,很快就能全部掌握。
 收藏
收藏  已学会
已学会 
 回复
回复 
